Ithaca High School Math Seminar Lesson 2-10
Date: 2023.12.04
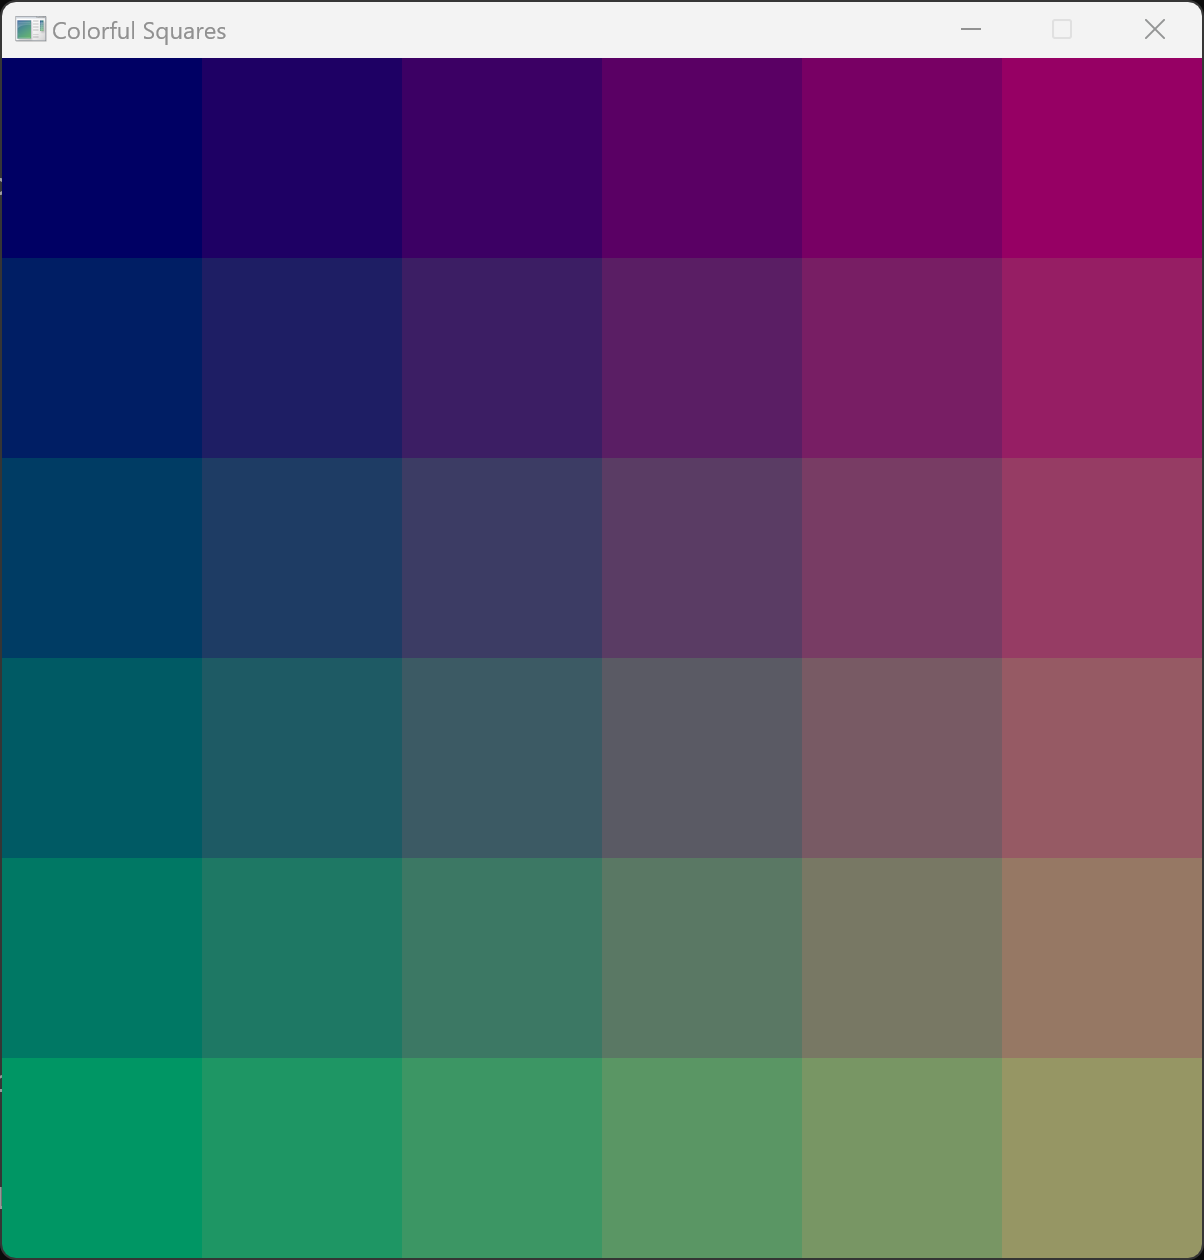
Until this point in the course, we used other programs to visualize the graphics we made: In lessons 2-1 and 2-2 we made graphics in javascript and viewed them in a web browser; in lessons 2-3 through to 2-9 we wrote fragment shaders and viewed them via KodeLife. Today we will stop relying on other programs to view our graphics, and instead write a self-contained program that renders our graphics. We will start simple, an in particular make a window with the pattern below. We will do so by using a new(ish) and particularly nice systems programming language, Odin, and a simple yet powerful cross-language and platform graphics videogame development API, raylib.
Relying on corporate programs to view graphics can be dangerous, since there is no guarantee that the graphics-viewing program will be provided into the future. For example, if the company behind KodeLife (Hexler) went out of business, KodeLife might stop being supported.
Creating our own programs running our shaders takes a bit more effort, but has some overwhelming positives including:
- We have significantly more control over our graphics.
- We can share our program however we want.
- We can share our program whenever we want, in particular we can provide it into the future regardless of if companies like Hexler go out of business.
Step 1: Download the Odin compiler, then build and run a 'Hello world!' program
Odin is an alternative to the C programming language, as described on its website. While there is much to love about the C programming language, it has a large number of flaws. In my view, Odin fixes almost all of the flaws of C. I've been using the language for more than two years now, and even though Odin is still in development and has not yet reached version 1.0, I consider it to be significantly better than C.
Let's obtain a copy of the Odin compiler, and then compile a basic Odin program that prints "Hellope!" to a terminal. (This is an example of a "Hello World!" program.)
Odin can be built from source, but this is can be a huge time sink if you've never done this before (especially if it is done without the Zig build system), and ultimately unnecessary for today, so we'll just download the latest release.
Task: Go to the Odin releases page on Github and download the appropriate .zip file depending on your operating system. Unzip the file, and extract it somewhere sensible. (For example, create a new folder titled Odin in the folder above your Documents folder, and extract the files there.)
Now open up a terminal (e.g. On MS Windows launch "Windows Powershell", On Mac launch "Terminal", etc.) and run the following command.
odin version
You will likely get an error, and this probably happened because couldn't find the odin compiler. (That is, it couldn't find the odin.exe file in the extracted files.)
We need to add odin.exe to our PATH. The instructions below explain how to do this on MS Windows. If you use a Mac or a computer running Linux, search the internet to figure out how to do add a folder to you path
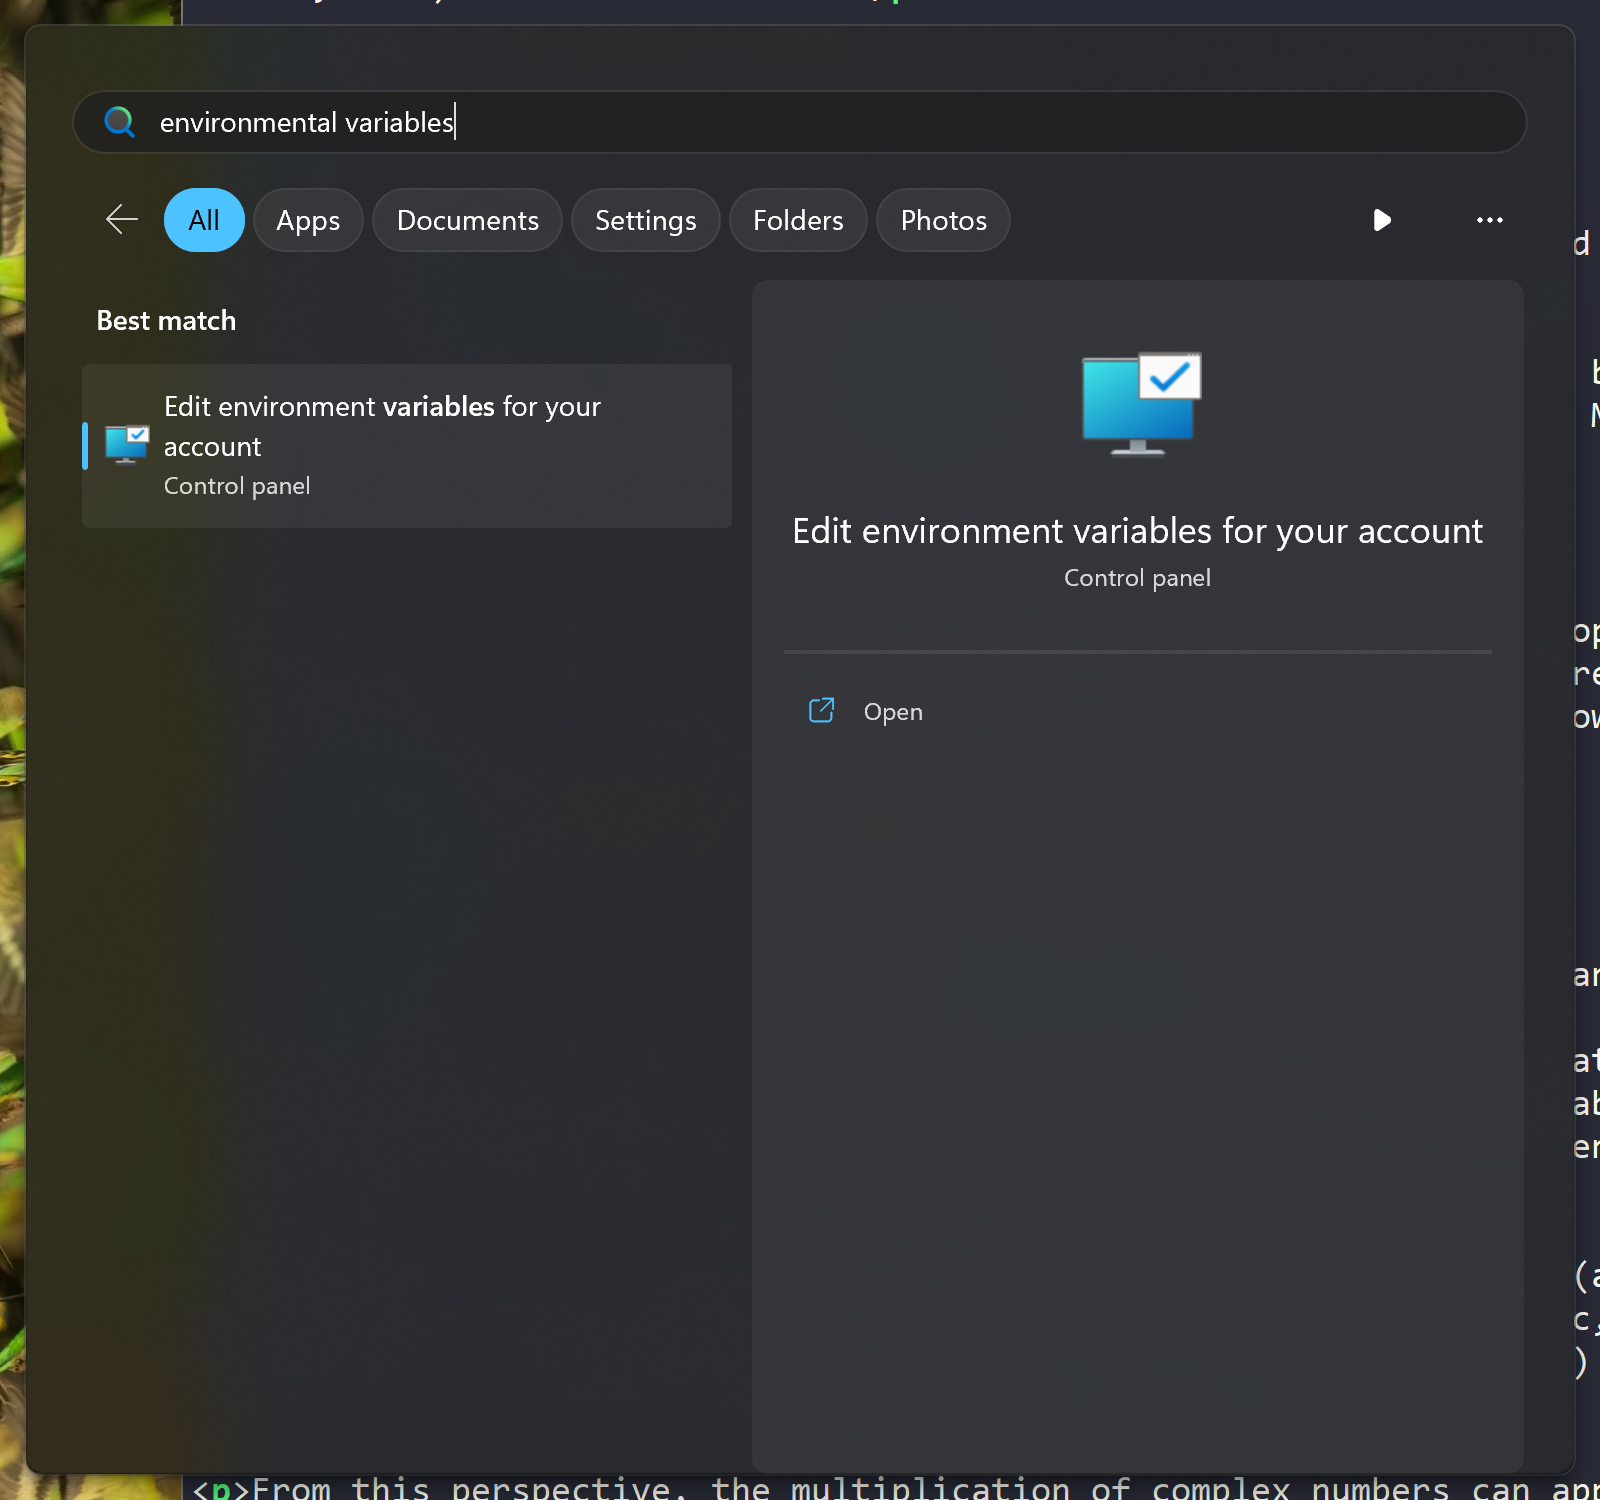
1. On Windows 11, open the utility which allows editing of account environmental variables.
This can be done by searching something like environment variables from the start menu. NOTE: There is no need to change the system environmental variables, which is another option that can appear. I recommend just changing the local ones for your account.
2. Click on the Path environmental variable and then the Edit... button.
odin.exe (i.e. the location of the extracted Odin compiler) then press the OK button (and then OK again to close the options).
The Odin complier should now be accessible from any terminal program. Open up a new instance of a terminal, then type odin help and press enter. A list of important commands, along with brief descriptions should appear.
Let's now use the compiler to create and run a program.
Task: Create a new folder somewhere on your computer, then create a new text file called hellope.odin containing the code below. Open a terminal in the folder (e.g. On Windows 11 right-click and select "Open in Terminal"), and then type the command odin run . and press enter. The result should output "Hellope!" like in the image below.
package main

import "core:fmt"

main :: proc() {
	fmt.println("Hellope!")
}
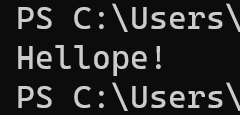
What just happened? The Odin compiler compiled our code into an executable (.exe) file, and then ran it for us. The command odin build . would have built the .exe file without running it. We can run the .exe at any time by typing in its name in the terminal and pressing enter or clicking on it.
We now have a way to create our own programs! Instead of making a program that just prints text to the screen, let's create a program that draws an animated version of the image at the top of this page.
Step 2: Draw a square to the screen using raylib
In 2023 creating a program that draws graphics on the screen is waaay more complicated than it should be. In fact, official documentation about how to do this on MS Windows makes it look outrageously complicated.
Raylib is a an API which amoung other things will enable us to spawn windows and put graphics on the screen without us having to write operating-system specific code to do this.
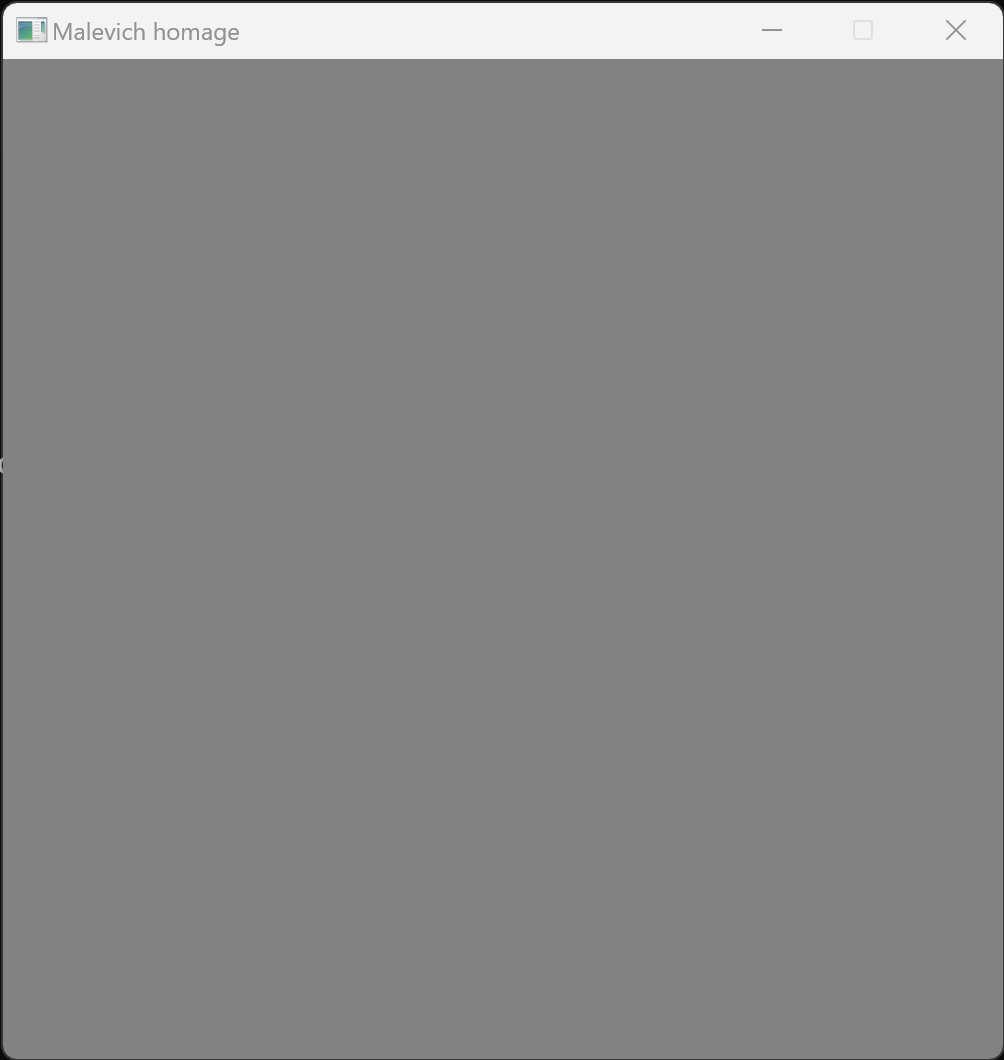
Let us first make a digital homage to Malevich's iconic Black Square (1915) in Raylib.
The Odin code below should spawn a window with a gray background.
package blacksquare

import rl "vendor:raylib"

main :: proc() {
    rl.InitWindow(1000, 1000, "Malevich homage")
    defer rl.CloseWindow()

    rl.SetTargetFPS(60)

    for ! rl.WindowShouldClose() {
        rl.BeginDrawing()
        rl.ClearBackground(rl.GRAY)
        rl.EndDrawing()
    }
}
Task: Save the code above in a file called black-square.odin, then build and run the code. (Open up a terminal, and use a similar build command to that above.) The result should look like the image below.
To finish our homage, we need to add a black square to the center of the image. There is a very simple procedure in raylib that does this.
Task: In the line before rl.EndDrawing() add the the line rl.DrawRectangle(x,y,w,h,rl.BLACK) but choose values of x, y, w, h to draw a square centered in the screen. Save the file, then compile and run the code to see the result.
Step 3: Use for loops to draw loads of squares with different colors
As described in the overview, for loops in Odin can be specified in several ways. By placing therl.DrawRectangle procedure inside the following nested for loops
        for i := i32(1); i <= 3; i += 1 {
            for j := i32(1); j <= 3; j += 1 {
                rl.DrawRectangle(200 * i, 200 * j, 100, 100, rl.BLACK)
            }
        }
we get the following image.

Instead of using a default color in the raylib library, we can easily define our own. Adding in the line
square_color := rl.Color{70 * u8(i), 70 * u8(j), 100, 255}
before the rl.DrawRectangle line and changing the rectangle color to square_color results in the following image.
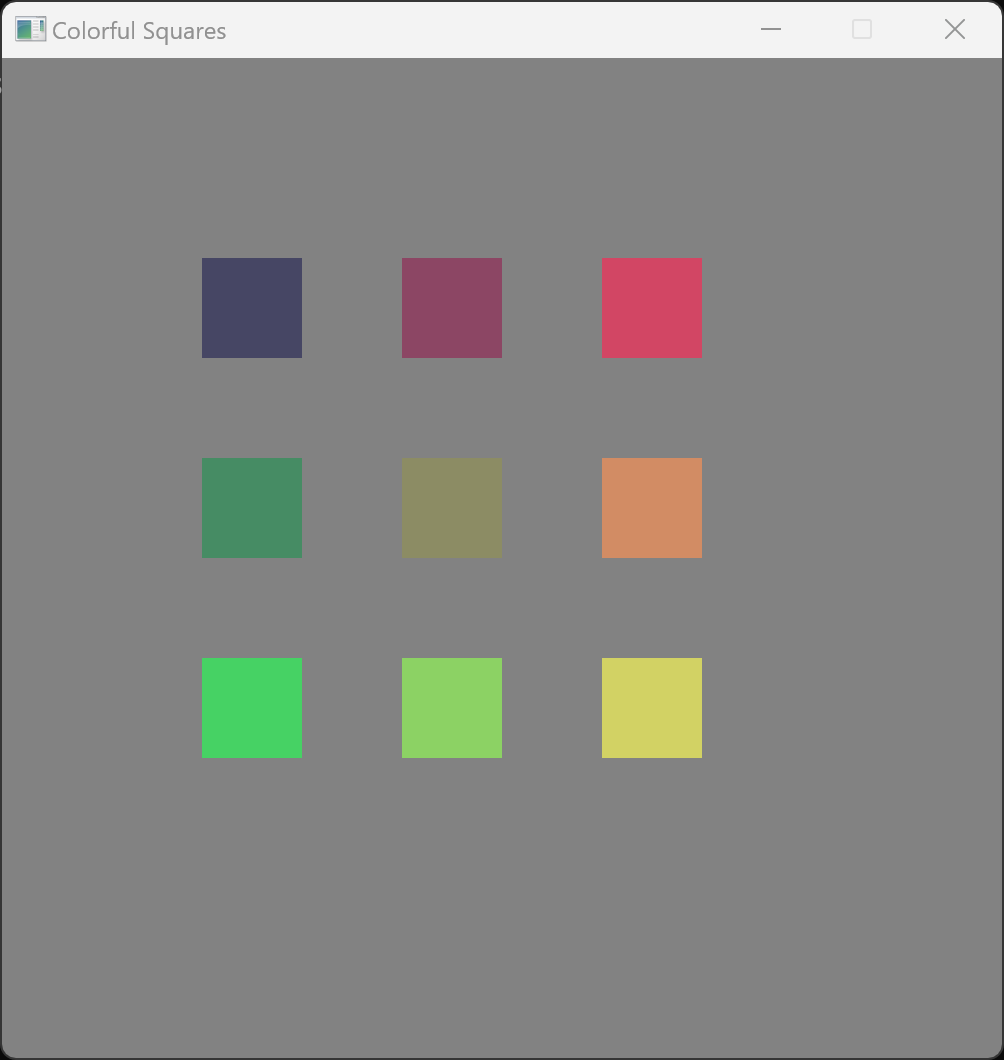
Task: Use for loops to create an program in Odin and raylib that renders an image similar to that at the top of the page.
Finally, let us add in a time variable so that our graphics change over time. Odin has a standard library that contains procedures for dealing with time. We can access these with time.(name of procedure) once we add
import "core:time"
near the top of the file. After we set the FPS, we can create a stopwatch, then start it, with
    watch : time.Stopwatch
    time.stopwatch_start(&watch)
Within the rl.WindowShouldClose() loop, we can then create an offset based on the time with
        raw_duration := time.stopwatch_duration(watch)
        seconds := f32(time.duration_seconds(raw_duration))
        offset := u8(20 + 20 * math.sin(3 * seconds))
We can now have a variable (offset) which varies periodically with time.
Final Task: Create a variable that varies with time, and use it to make the color of the squares vary over time.
Next time, we will use raylib to use draw several of the fragment shaders we created in previous lessons.