Ithaca High School Math Seminar Lesson 2-15
Date: 2023.12.18
The 3D graphics we've made so far have been dynamic, but not interactive. We'll change this today by using raylib's keyboard procedures to make a program in which we can adjust the position of a cube using the arrow keys as illustrated in the video below (click to play).
Step 1: Change the position of the cube with key presses
Let's begin with some basic Odin/raylib code that draws a cube. Like the previous lesson, we'll draw the shape by drawing triangles.
This time we'll divide our Odin code into two files, just to demonstrate that doing so won't require us to do any wacky imports or (shudder) build files. One for the cube geometry, the other for the rendering code.
package moving_cube

import rl "vendor:raylib"

// Cube corner coordinates.
P000 := 0.5 * Vec3{-1,-1,-1}
P001 := 0.5 * Vec3{-1,-1, 1}
P010 := 0.5 * Vec3{-1, 1,-1}
P011 := 0.5 * Vec3{-1, 1, 1}
P100 := 0.5 * Vec3{ 1,-1,-1}
P101 := 0.5 * Vec3{ 1,-1, 1}
P110 := 0.5 * Vec3{ 1, 1,-1}
P111 := 0.5 * Vec3{ 1, 1, 1}

// Each face of the cube is rendered with two triangles.
Cube_Triangles := [12] Triangle{
    {P000, P010, P100, rl.GRAY},
    {P100, P010, P110, rl.GRAY},
    {P000, P010, P001, rl.RED},
    {P010, P001, P011, rl.RED},
    {P000, P100, P101, rl.GOLD},
    {P000, P001, P101, rl.GOLD},
    {P001, P011, P101, rl.LIME},
    {P101, P011, P111, rl.LIME},
    {P100, P110, P101, rl.BLUE},
    {P110, P101, P111, rl.BLUE},
    {P010, P110, P111, rl.VIOLET},
    {P010, P011, P111, rl.VIOLET},
}
package moving_cube

import rl   "vendor:raylib"

Vec3  :: rl.Vector3

Triangle :: struct{
    a, b, c : Vec3,
    color   : rl.Color,
}

main :: proc() {
    rl.InitWindow(1920,1080,"Moving Cube")
    defer rl.CloseWindow()

    static_camera := rl.Camera3D{
        position = {-5,3,-0.5},
        target   = {0, 0, 0},
        up       = {0, 1, 0},
        fovy     = 45,
        projection = rl.CameraProjection.PERSPECTIVE,
    }

    rl.SetTargetFPS(60)

    position := 0.5 * Vec3{1,1,1}

    for ! rl.WindowShouldClose() {

        // Start drawing.
        rl.BeginDrawing()
        rl.BeginMode3D(static_camera)
        rl.ClearBackground(rl.BLACK)

        rl.DrawGrid(10,1)
        draw_cube(position, 1)

        rl.EndMode3D()
        rl.EndDrawing()
    }
}

draw_cube :: proc(pos : Vec3, size : f32) {
    cube_triangles := Cube_Triangles
    for tri in cube_triangles {
        draw_triangle(size * tri.a + pos,
                      size * tri.b + pos,
                      size * tri.c + pos,
                      tri.color)
    }
}

draw_triangle :: proc(a, b, c : Vec3, color : rl.Color) {
    rl.DrawTriangle3D(a, b, c, color)
    rl.DrawTriangle3D(a, c, b, color)
}
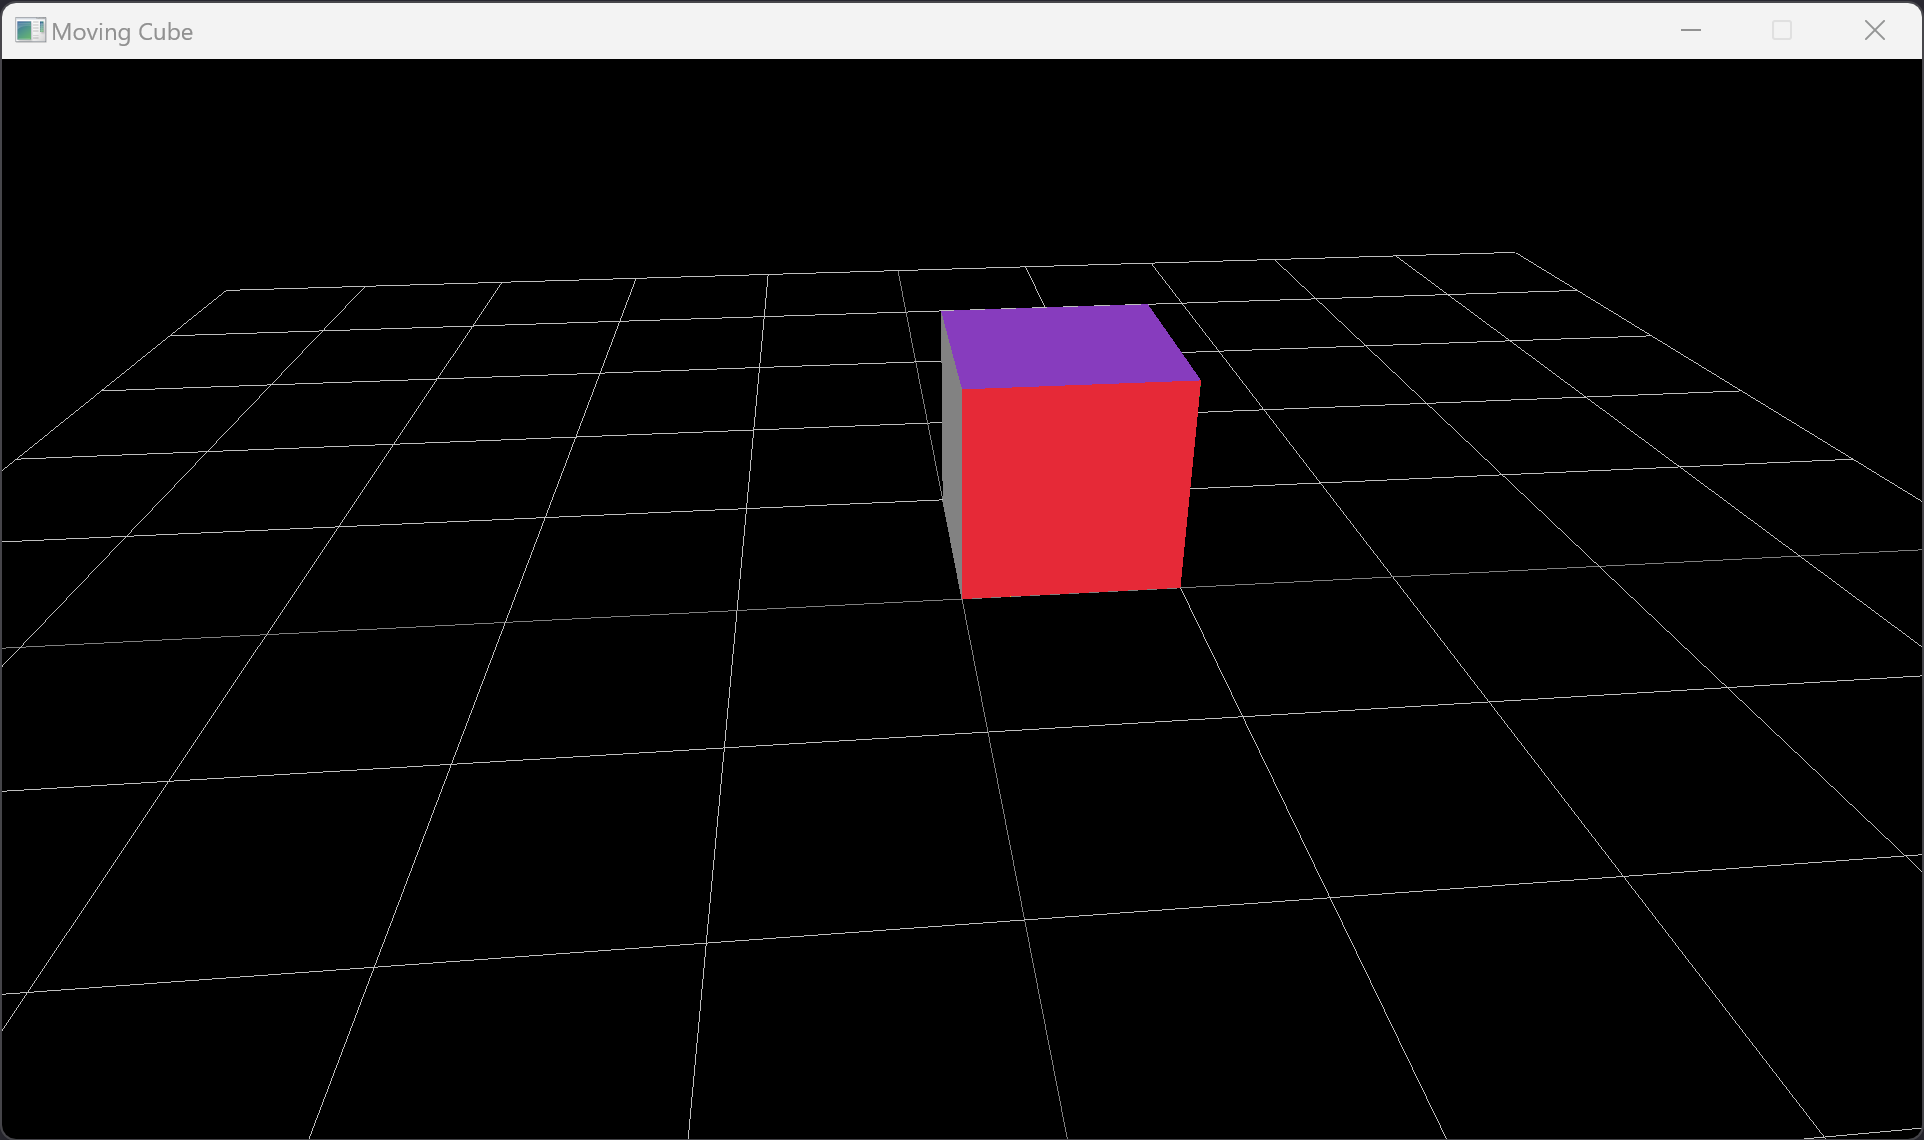
Task: Create a new folder for the lesson today, and save the code above in two files called cube-geometry.odin and moving-cube.odin respectively. Compile and run the code as usual by calling odin run . from a terminal in the folder; the result should look like the following.
Now let's make our program interactive. We'll make our cube move to the right when we press the right arrow key (and similarly for the left).
There is an important technical point to consider when doing this: we don't want the cube to continue to move to the right if we hold the key down. Only one square per press. As such, we want to move the cube when the right arrow key is pressed, but not when the key was also pressed in the previous frame.
To keep track of when the right arrow was pressed in the previous frame, we'll create a variable outside of the main loop.
right_key_pressed_last_frame := false
Inside the main loop, we can detect when a key is pressed down using raylib's IsKeyDown procedure.
        right_key_pressed := rl.IsKeyDown(rl.KeyboardKey.RIGHT)
        defer right_key_pressed_last_frame = right_key_pressed
The defer keyword above makes right_key_pressed_last_frame get set at the end of the loop's scope. With these two variables, we can now update the position of the cube if the appropriate conditions have been met. The ! symbol here negates the boolean, i.e. means "not".
        if ! right_key_pressed_last_frame && right_key_pressed {
            position.z += 1
        }
Task: Using the code above, make the cube move to the right whenever the right arrow key is pressed. Then also make the cube move to left whenever the left arrow key is pressed. The result should have functionality similar to the video below (click to play).
Step 2: Add in animations
Let's add some animations so that the cube moves continuously when an arrow key is pressed. This will require some care.
Let's say we pressed the right arrow key, and the cube begins to move to the next square. What happens if we press the arrow key again before the animation has completed?
There are several options. One is to cancel the existing animation, and begin the next. Another is to ignore keyboard input until the animation has played out. There are valid reasons for using both, but I think that the latter option should be avoided whenever possible. Use it only when there is a very good reason for doing so, since it inherently leads to a less responsive program. Additionally, the second option basically forces people to sit through an animation. Many people find programs that choose the latter option incredibly frustrating. Videogames that choose the latter option are usually terrible.
We will not be choosing the latter option. Instead, we'll implement animations in the following way: when a key is pressed, an end time for an animation will be set, and the cube is moved to its final position. When a frame is rendered, the proportion of time remaining until the end of the animation is calculated, and used to offset the cube from its final position. This will take a bit of code, but it's not that much.
It will be very useful to have a list of of the possible animations that can play. Since our cube can move left or right, let's list these options in an enum outside of the main procedure.
Animation_Direction :: enum u8 {
    LEFT,
    RIGHT,
}
Inside the main procedure, we can now create a variable to hold our animation direction choice using this enum. Note: since we want this to persist across frames, it should declare it outside of the main render loop.
animation_direction : Animation_Direction
There was no reason why we had to use an enum instead of (e.g.) a signed integer to indicate the direction, but as we'll see below, using an enum makes the code significantly more readable and in Odin switching over an enum comes with some nice compiler checks.
Now let's set animation_direction whenever the left or right arrow keys are pressed. We can do so by adding some extra lines to our existing key logic.
        if ! left_key_pressed_last_frame && left_key_pressed {
            position.z += -1
            animation_direction = .LEFT
        }
        if ! right_key_pressed_last_frame && right_key_pressed {
            position.z += 1
            animation_direction = .RIGHT
        }
Pressing the arrow keys now sets an animation. But we still need to implement the animations! In order to do so, we need a variable which changes with time.
Task: As in the previous lessons, add a stopwatch into the code so that in each frame there is a variable seconds that contains the number of seconds elapsed since a stopwatch was started. Remember to import the core Odin library for time!
Now with a way to timestamp frames, we can create a variable to hold the end time of an animation. We should also have a constant that controls how long each animation takes (in seconds).
    animation_end_time  : f32
    ANIMATION_LENGTH    :: 0.3 // Seconds.
Now when we press a key, we can set what the end time of an animation should be. The code below demonstrates this for the left key press; it is the same for the right key press.
        if ! left_key_pressed_last_frame && left_key_pressed {
            position.z += -1
            animation_direction = .LEFT
            animation_end_time = seconds + ANIMATION_LENGTH
        }
Finally, we can can calculate where a cube should be at any given moment during an animation. (I did this for the left animation, you'll need to fill in what this should be for the right key animation.)
        animation_time_fraction := max(0, (animation_end_time - seconds) / ANIMATION_LENGTH )
        animation_position_offset : Vec3

        switch (animation_direction) {
        case .LEFT:
            animation_position_offset = animation_time_fraction * Vec3{0,0,1}
        case .RIGHT:
            // ???
        }

        animated_position := position + animation_position_offset
We can then use our animation position when drawing the cube.
draw_cube(animated_position, 1)
Task: As above, make the cube's position change continuously when the left or right arrow keys are pressed. The result should be similar to the video below (click to play). Note how pressing the arrow keys immediately cancels any previous animations that was playing.
Step 3: Make the cube bounce
The linear animations we created in the switch statement above are quite basic, since they just shift the cube by multiples of a vector. We could make a far more interesting animation by changing what animation_position_offset is set to.
Final Task: Change the offsets in the switch statement so that the cube bounces between positions when the left or right arrow keys are pressed, like in the video at the top of this page.
Bonus Task: Make the cube hop up or down the grid when the UP and DOWN arrow keys are pressed too.