Ithaca High School Math Seminar Lesson 2-3
Date: 2023.11.08
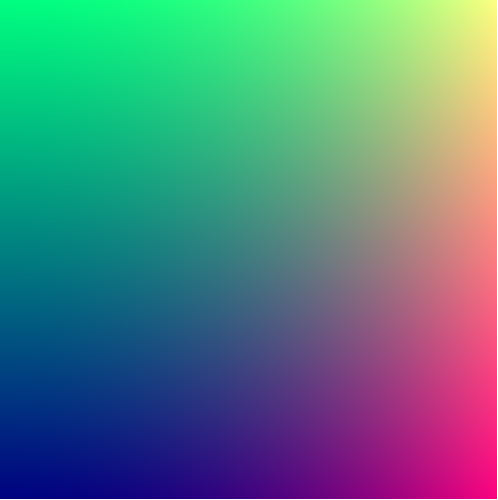
Because of the unexpected AMC timeslot collision today, the pace of this lesson will be different to the previous lessons. In particular, it will serve as time for people to catch-up, while also providing time for people who are ahead to play around with concepts in the next part of the course. In Step 1 we'll write a fragment shader from scratch that produces an image like the following.
Step 1: Write a linear gradient fragment shader
In the previous lesson, we used canvas commands to draw various shapes to the screen, but much of the process was abstracted. A command like fillRect(0,0,100,100); put colors on a screen, but the browser had to do hundreds of smaller steps behind the scenes to do this (and without reading the source code of the browser, we it's difficult to find out what these steps were). All we know is that the final product of the command fillRect(0,0,100,100); are pixels on a screen that collectively resemble a rectangle.
Today, and in the weeks ahead, we're going to do something different, and instead create graphics by specifying what the color of every pixel on the screen should be.
A fragment shader is a program which (basically) runs once for every pixel every time a screen is drawn, and its output is the final color of a given pixel.
Let's start by writing perhaps the simplest possible fragment shader: setting every pixel to the same color.
Viewing fragment shader code typically requires tedious setup, but there are some specialized programs dedicated to rendering shader code. KodeLife is one such example. Later in the course we'll make standalone programs utilizing shaders, but for now we'll use KodeLife.
If we open up a new file in KodeLife, delete all the default code, and instead write
#version 330
void main(void)
{
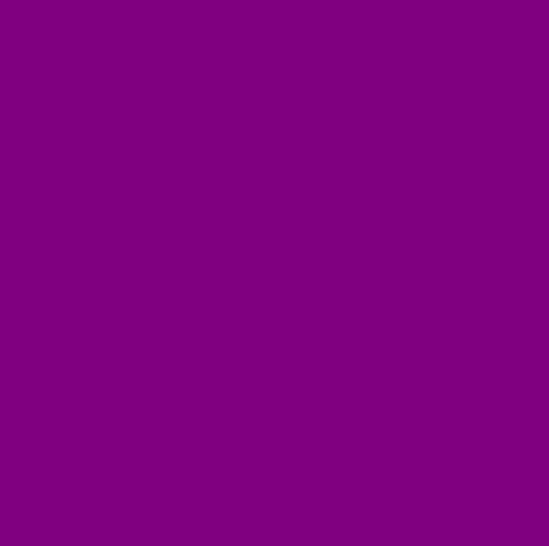
gl_FragColor = vec4(0.5, 0, 0.5, 1);
}
we get the following image.
Task: Adjust the numbers inside vec4 and observe how the color changes. What do each of the first three arguments do?
Each pixel has inherent information, such as its screen coordinate. Screen coordinates are commonly used in fragment shaders to produce different colors for each pixel.
The vector containing the coordinate of a given pixel in fragment shader code is gl_FragCoord. By default this returns the center of the pixel for which the shader is running (e.g. gl_FragCoord will by default equal (0.5,0.5) for the bottom-left corner of the screen). Note that unlike the canvas in the previous two lessons, by default the coordinates axes in shaders point in the standard mathematical direction.
By dividing the horizontal and vertical positions of a pixel by the screen width and height, we can obtain the normalized position of the pixel. We can do this in KodeLife using the resolution variable.
For example, the following code
#version 330
uniform vec2 resolution;
void main(void)
{
float xratio = gl_FragCoord.x / resolution.x;
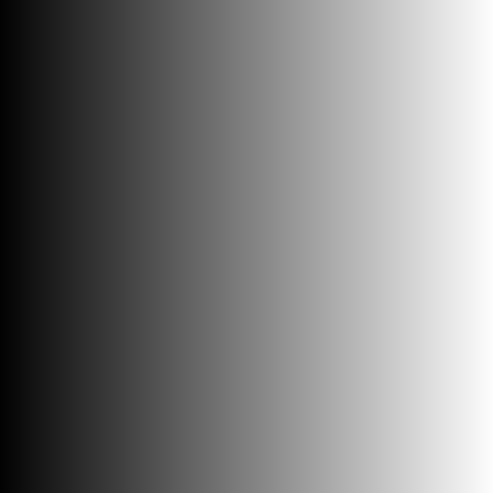
gl_FragColor = vec4(xratio, xratio, xratio, 1);
}
produces this image.
Note: the code above relies on the resolution uniform variable being supplied. KodeLife supplies this by default, using the values listed in the Properties box in KodeLife. If this code was copy-pasted into another application using fragment shaders, the image would likely not render correctly unless resolution was set.
Task: Create a variable yratio which calculates the normalized height of a pixel. Use xratio and yratio to create some interesting color gradients (such as the image at the top of this page).
Step 2: Explore, and adjust, the example fragment shaders in KodeLife
One of the best ways to learn fragment shader programming is to read the code of some shaders you find particularly interesting, and to play about with them. In particular, to see what happens when you adjust them!
Final task: Open up an example fragment shader in KodeLife (via Help → Examples). I recommend checking out any of Keijiro Takahashi's Hex examples. Look at the code and adjust many of the constant numbers in the program. How do the visuals change?